
インストール方法
プラグインを入手したら、まずはWordPressにインストールして有効化しましょう。
インストール手順はこちらの記事で紹介しています。
 入手したプラグインをWordPressにインストールしよう
設定ページ
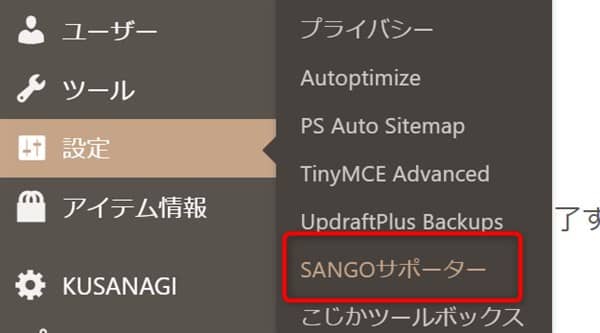
インストールが完了すると、WordPressの管理メニューにSANGOサポーターの設定ページが追加されます。
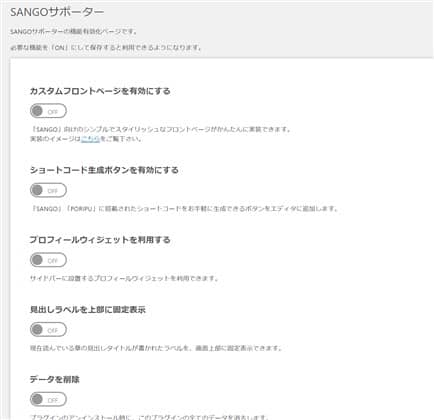
設定ページに入ると、それぞれの機能ごとにON/OFFのスイッチがありますので、利用したい機能をONにして保存しましょう。
機能詳細
利用できる機能についての詳細については、各紹介記事をご覧ください!
オリジナルデザインのフロントページ
 SANGOでオリジナルデザインのフロントページが使えるように
 オリジナルフロントページを利用するまでの手順
 カスタマイザーでフロントページの設定をしよう
リンク用ショートコードジェネレータ
 ショートコードジェネレータで面倒なコード作成の手間を省略
サイドバーのプロフィールカード
 サイドバー用のプロフィールが便利なウィジェットになりました